Another Cheapo Gutter Guard Grill
#1
Another Cheapo Gutter Guard Grill
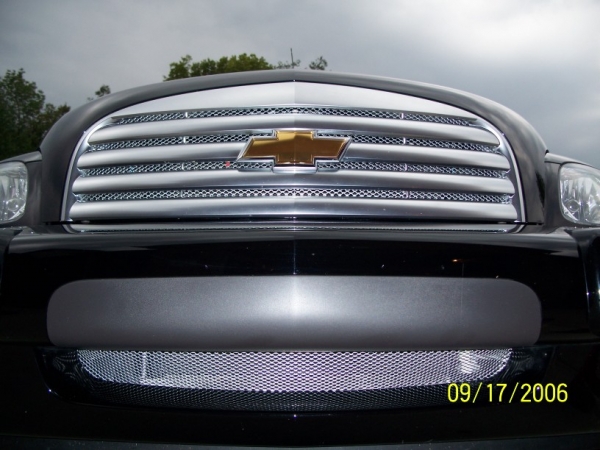
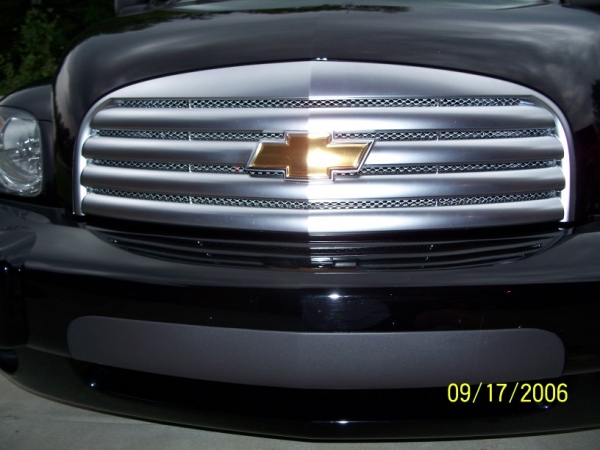
After seeing CJ's custom grille, I just figured that I would try and use the rest of that gutter guard up. I don't have the stones to cut up my OEM grille just yet until I know which aftermarket one I'm going to go with, so I just added it to the plain old factory unit, and here are the results. Plus I figured that it might help with keeping out small road debris....Thanks to all for the great ideas.......Regards


#2
Cheap so what!
The $$ don't matter. The look is great and that is what makes it YOURS!!

PS: Nice color on the car too
 CHeck my site out below to see if you want to match the bowtie to the car. I changed the grille, but painted the rear one and all the little fellas on the wheels too!

PS: Nice color on the car too
 CHeck my site out below to see if you want to match the bowtie to the car. I changed the grille, but painted the rear one and all the little fellas on the wheels too!
#3
Originally Posted by Inspector
The $$ don't matter. The look is great and that is what makes it YOURS!!

PS: Nice color on the car too
 CHeck my site out below to see if you want to match the bowtie to the car. I changed the grille, but painted the rear one and all the little fellas on the wheels too!

PS: Nice color on the car too
 CHeck my site out below to see if you want to match the bowtie to the car. I changed the grille, but painted the rear one and all the little fellas on the wheels too!
Cool....Thanks for the tip.........Regards
#8
Originally Posted by JB1
How did you attach it to the grille and hows it attached to the lower airdam?
pics would be great
pics would be great
JB, For the airdam mod look here..... https://www.chevyhhr.net/forums/mods-exterior-55/my-%241-08-lower-grille-mod-shaggy-shaggy-has-new-teeth-3052/ It only takes about 15-20 minutes. There are some pics of how it's been done along with the sizes to cut. I just used the clips that the gutter guard came with on the top lip (I used 4 along top most people use 2), 2- washers, 2- 8x1.25 nuts from the harware store and then hand form the mesh around the lower opening and the sides of the airdam. Some people have used clips to secure the bottom, but I didn't.
I'll try and get some pics of the inside of the grille up today sometime, along with some directions.....Regards
#10
Originally Posted by JB1
How did you attach it to the grille and hows it attached to the lower airdam?
pics would be great
pics would be great
1st remove grille.
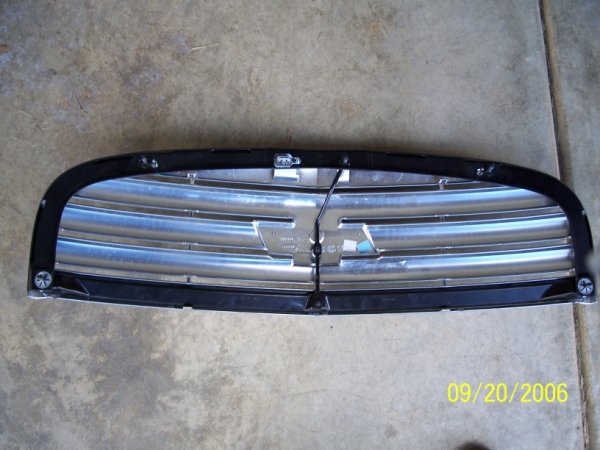
See the black trim around the grille and the center support. That is what is going to hold the mesh in place along with pressure when you re-install the grille.
2nd remove trim and center support
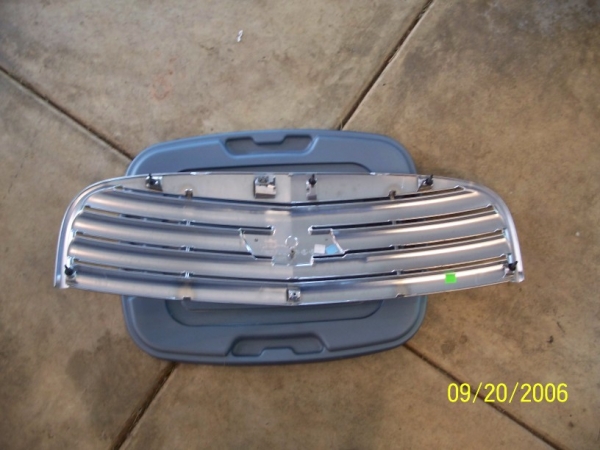
3rd cut 2 pieces of mesh
1st piece for the top rows 33" x 5" Then trim and form so it fits curves of the grille.
2nd piece for the bottom row 33" x 4" Trim and form also, taking note of "notched" center of this piece. This is so you can attach this piece to the center support.
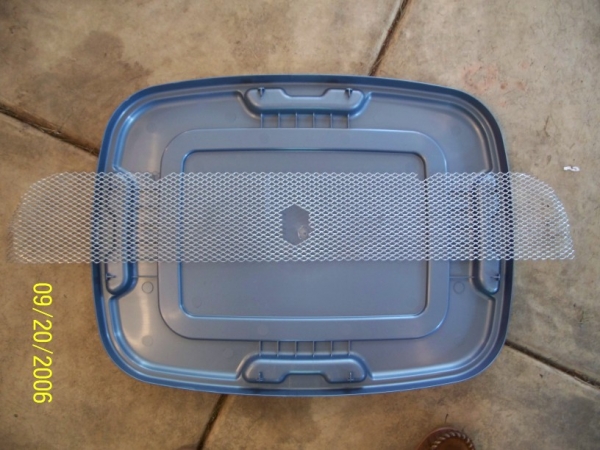
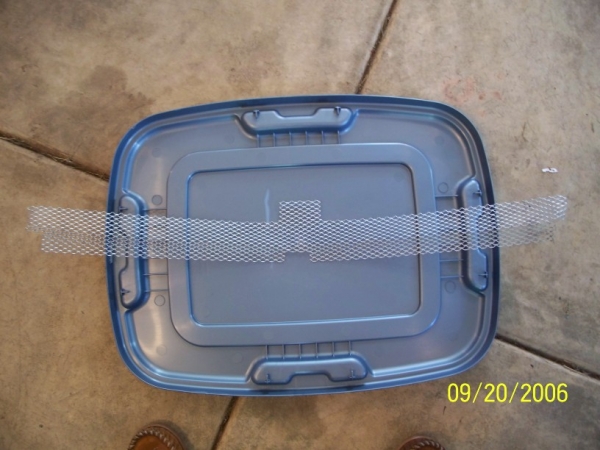
4th test fit pieces and align together.
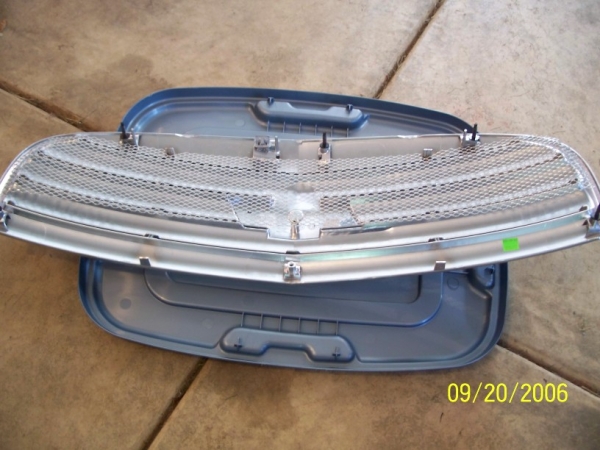
con't


