
Audio System Build Log
 09-22-2012 | 03:27 PM
#1

Thread Starter
Member
Joined: 09-16-2012
Posts: 39
From: Indianapolis
Audio System Build Log
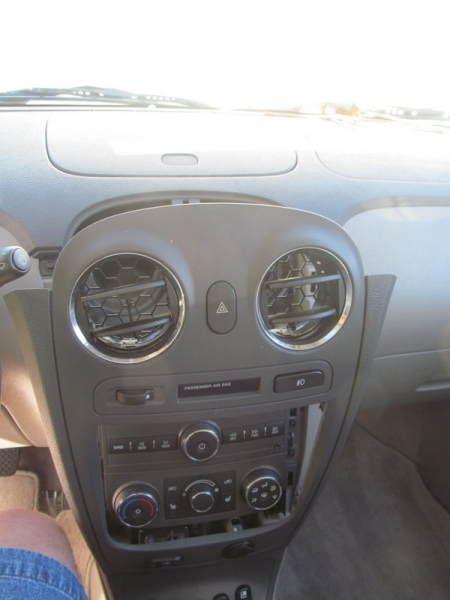
I'll Start with a teaser photo. Just got enough stuff in the mail today to do the head unit install.
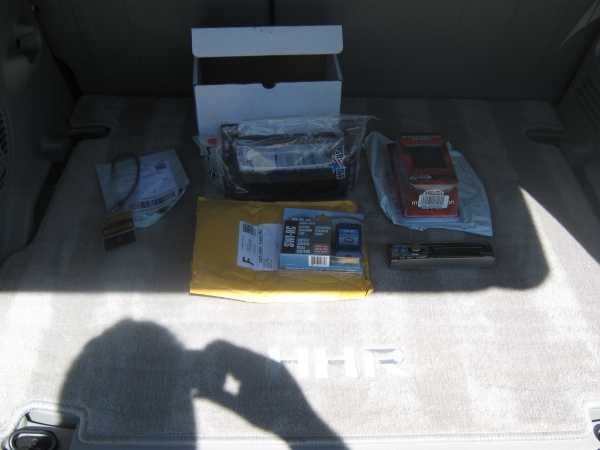
Old HU Alpine CDA-9827 Coming out of my old car. As well as an Alpine Type X 12, JBL GTO14001, Rockford Fosgate 551X.
I have decided to replace the MB quarts since they are 5.25. I would rather not use adapter plates. I already ordered new front Speakers. SPR-60C they should be here monday or tuesday.
What is here now
New parts.
Gmos-LAN-04
PAC-SWI-RS
GM antenna adapter
1 din Mounting bracket
So today I'll be installing the HU and Pulling all the 0awg and gear out of my old 1992 Lumina sedan. I will take my time and take plenty of pics.
09-22-2012 | 09:09 PM
#2
Thread Starter
Member
Joined: 09-16-2012
Posts: 39
From: Indianapolis
Update one
Removal of the Alpine HU from the old car.
Wiring

0 Awg Runs before removal
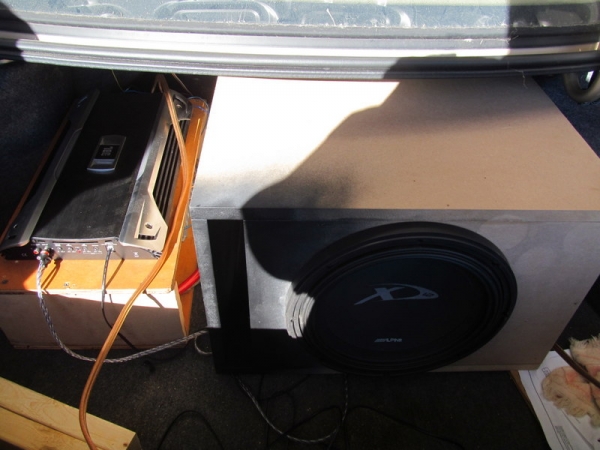
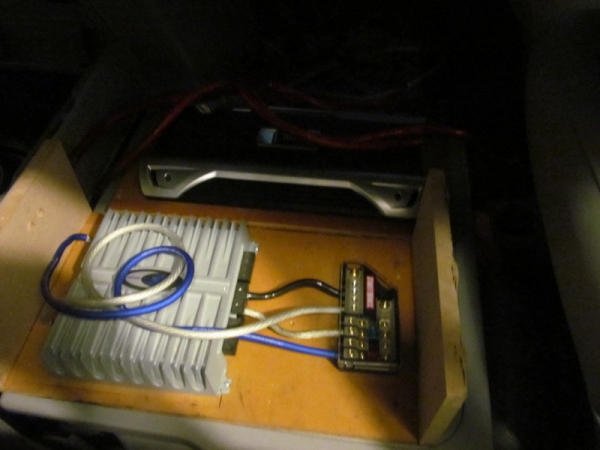
Sub and Amp Pic before removal
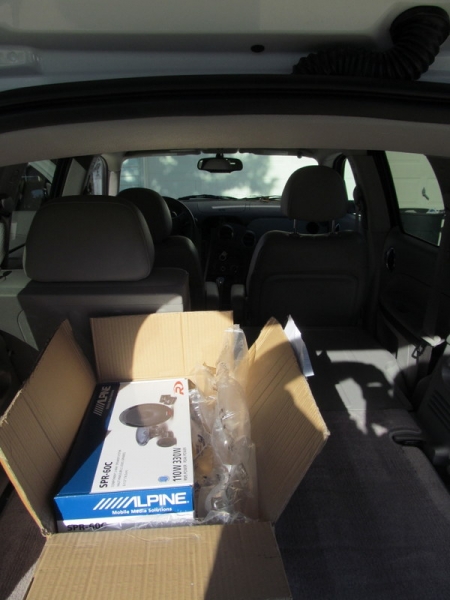
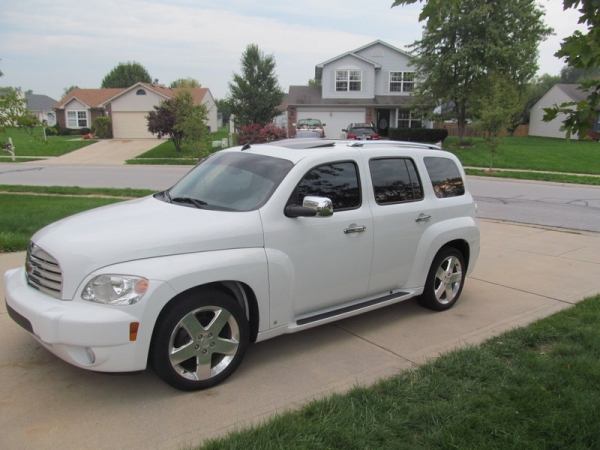
Update 2 coming Soon. I got side tracked today had to go pick up a water heater for the house. ;-P On a positive note I got to hall something in my HHR for the first time. ;-P Saved me a delivery fee.
Wiring
0 Awg Runs before removal
Sub and Amp Pic before removal
Update 2 coming Soon. I got side tracked today had to go pick up a water heater for the house. ;-P On a positive note I got to hall something in my HHR for the first time. ;-P Saved me a delivery fee.
09-25-2012 | 07:52 PM
#3
Thread Starter
Member
Joined: 09-16-2012
Posts: 39
From: Indianapolis
Update two
Put some work in last night with a buddy. Unfortanetly we got side tracked and starting doing shots after every bolt we took out to remove the back seats lol.
So Progress pics below.
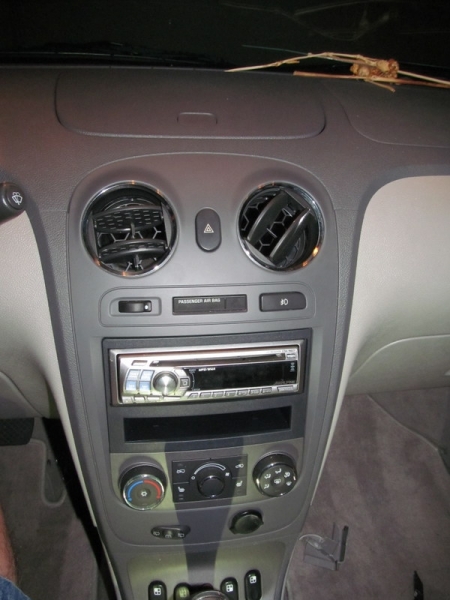
First off RTFM Read The Flipping Manual
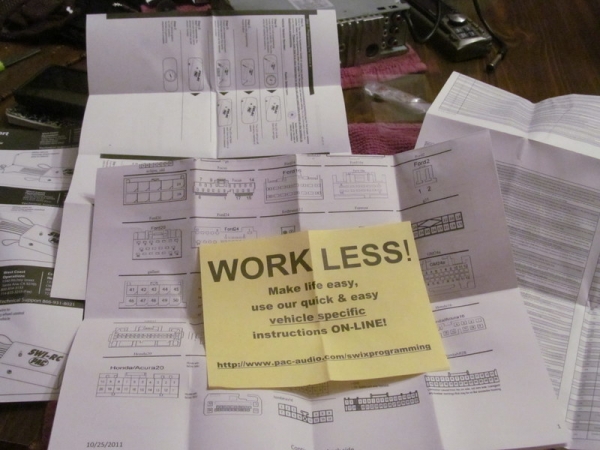
I used wire taps because I plan on upgrading to the IVE-535HD that just came out soon.
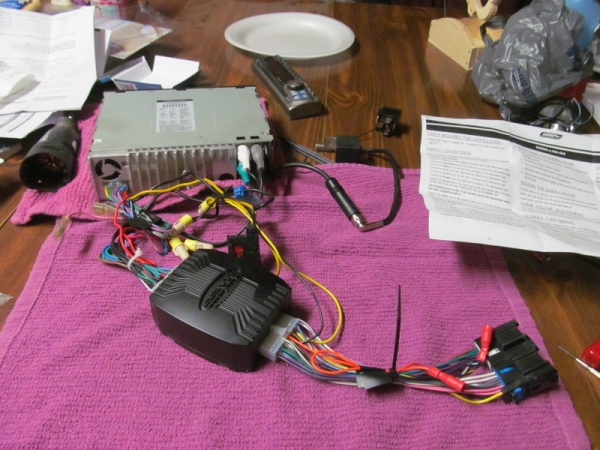
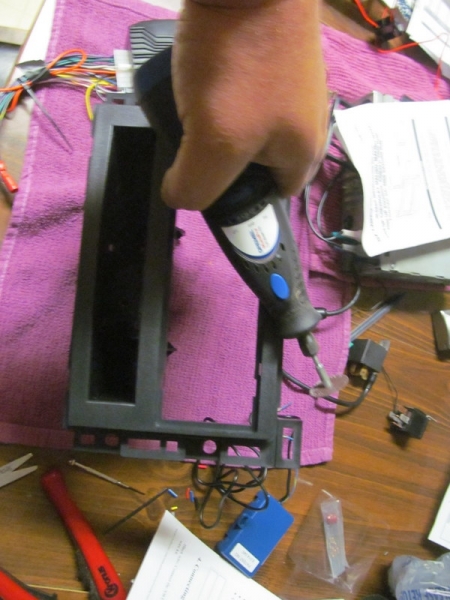
Oh NO what is he cutting? Trim the mounting kit per instructions.
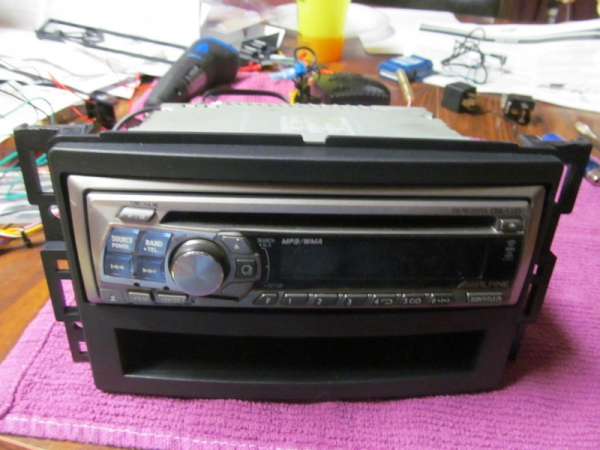
Mounted 4th vehicle for this old alpine CDA-9827
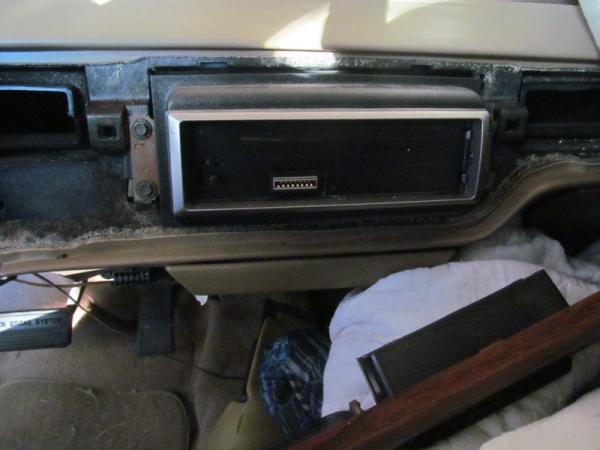
Dash Removal
While in the drive way working on the deck UPS man brought me a gift
Throwing everything but the kitchen sink at it to get everything to fit. This plastic was alot thicker and harder to cut than anything i have had to cut behind a dash before. Maybe because the car is newer rather than an old beater.
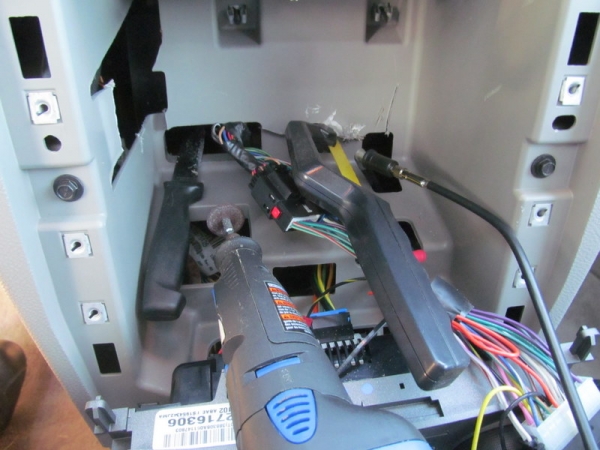
What it took to make it all fit
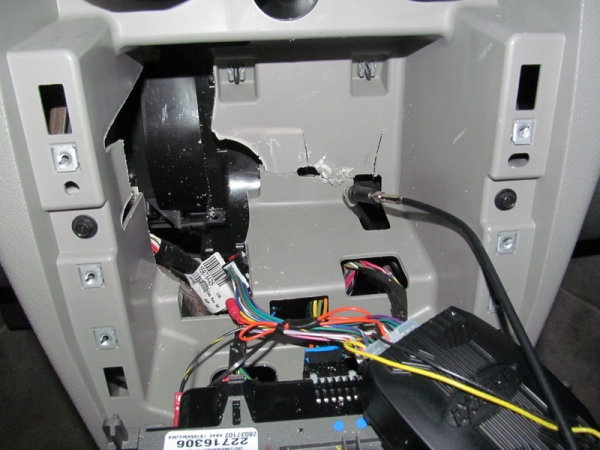
Deck Done
So Progress pics below.
First off RTFM Read The Flipping Manual
I used wire taps because I plan on upgrading to the IVE-535HD that just came out soon.
Oh NO what is he cutting? Trim the mounting kit per instructions.
Mounted 4th vehicle for this old alpine CDA-9827
Dash Removal
While in the drive way working on the deck UPS man brought me a gift
Throwing everything but the kitchen sink at it to get everything to fit. This plastic was alot thicker and harder to cut than anything i have had to cut behind a dash before. Maybe because the car is newer rather than an old beater.
What it took to make it all fit
Deck Done
09-25-2012 | 07:58 PM
#4
Thread Starter
Member
Joined: 09-16-2012
Posts: 39
From: Indianapolis
Update three with a question
Time to get down and dirty.
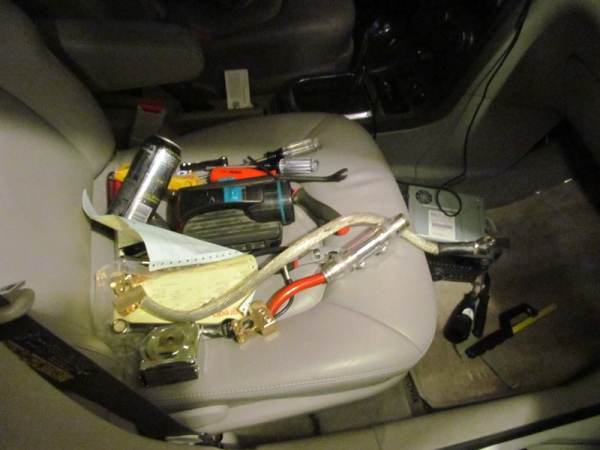
Amps still in the old amp rack
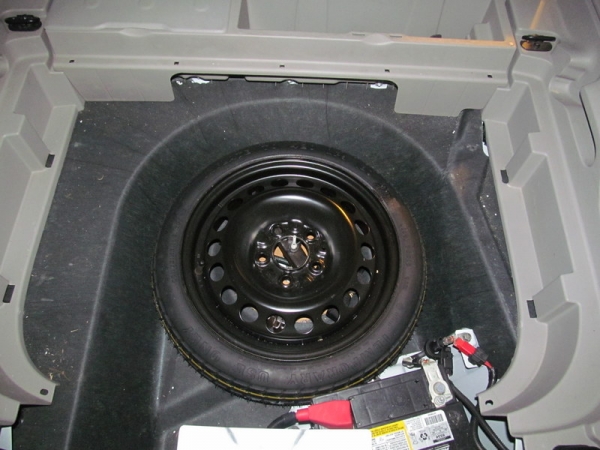
Who needs a spare tire?
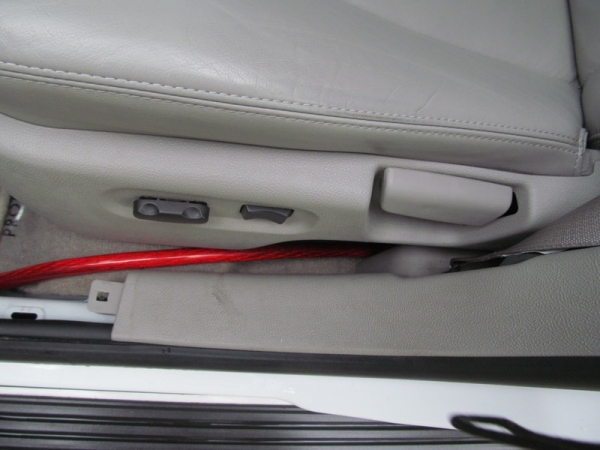
And time for my question. This piece of trim between the 2 doors is bolted in by a seat belt bolt. For the life of me I cant get the 0 awg tucked under it. What bit do I need to remove this piece? As far as the old factory 4 awg wire. It has been cut out at both ends the 0 awg has now replaced it. Since the old wire crossed over in multiple places I wanted to be able to send power down 1 side and RCA and Speaker wire down the other. Although I may pull the seats and just run the Speaker down the center. Atleast now I have that option.
Windows tinted this morning. 20% on the front 2 doors to match factory 5% on the brow(lip).
Amps still in the old amp rack
Who needs a spare tire?
And time for my question. This piece of trim between the 2 doors is bolted in by a seat belt bolt. For the life of me I cant get the 0 awg tucked under it. What bit do I need to remove this piece? As far as the old factory 4 awg wire. It has been cut out at both ends the 0 awg has now replaced it. Since the old wire crossed over in multiple places I wanted to be able to send power down 1 side and RCA and Speaker wire down the other. Although I may pull the seats and just run the Speaker down the center. Atleast now I have that option.
Windows tinted this morning. 20% on the front 2 doors to match factory 5% on the brow(lip).
Last edited by Chozen317; 09-25-2012 at 09:03 PM. Reason: additional info

 09-26-2012 | 07:35 PM
#7
Thread Starter
Member
Joined: 09-16-2012
Posts: 39
From: Indianapolis
Work week hit. Progress Slowed. A lot of rain and no room in the garage. Project shifted to the dead lumina in the garage to finish putting the engine back together So I can move it out and work on the HHR. It is suppose to rain all week here. Pfft.
On a positive note, I ordered the Rear stage speakers yesterday. Alpine SPR-60 in route.
On a positive note, I ordered the Rear stage speakers yesterday. Alpine SPR-60 in route.
 09-28-2012 | 10:24 AM
#9

Senior Member
Joined: 05-22-2010
Posts: 581
From: Puckett, Mississippi
Maybe I am overlooking something...but why are you installing power wire (front-to-back)? (The battery is in the spare tire sump).
Are you mounting the amps near the front?
Just curious. Good work so far!
Are you mounting the amps near the front?
Just curious. Good work so far!
09-28-2012 | 07:31 PM
#10
Thread Starter
Member
Joined: 09-16-2012
Posts: 39
From: Indianapolis
Thanks
Father azmodious(sp)
Thank you. Your memory was spot on T47 it is.
Putter, GO big or GO HOME.
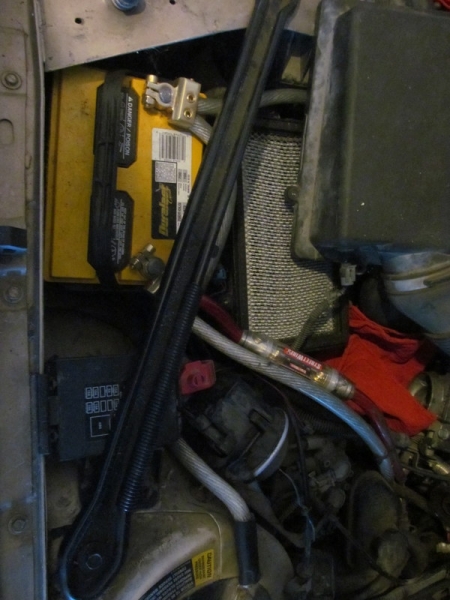
YOu have to do the BIG 3 if your running the wattage I am running.
Power from Alt to fuze box up front. Power from fuze box to the battery.
Ground to engine block and Battery. So it is actually the Big 4 in this car. The saying Big 3 refers to the day pre engine block fuze boxes.
Thank you. Your memory was spot on T47 it is.
Putter, GO big or GO HOME.
YOu have to do the BIG 3 if your running the wattage I am running.
Power from Alt to fuze box up front. Power from fuze box to the battery.
Ground to engine block and Battery. So it is actually the Big 4 in this car. The saying Big 3 refers to the day pre engine block fuze boxes.