Install Rear Seat in Panel
#1
Install Rear Seat in Panel
I had a great time with this install & here's my tale:
Started off with a quality work space with ample tools supplied by our host 'Petrolmike' (HHR member).
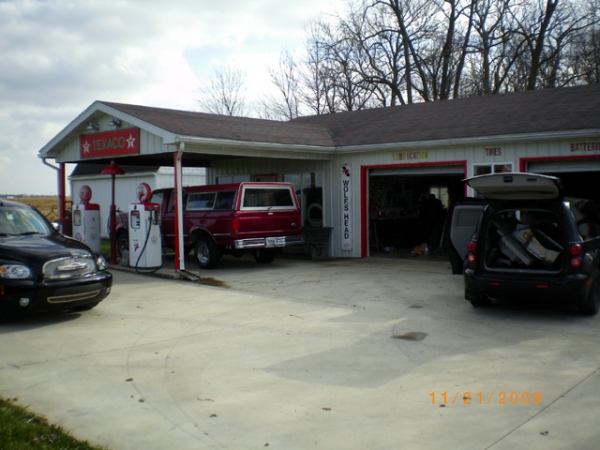
The pictures show a lot of Mike. That's because he did the installation. I was around to provide moral support & occasionally loosen a bolt or two.
We started off by removing the rear cargo cover & spare tire cover door. Now we can remove the top cover of the storage box. There are 4 bolts:
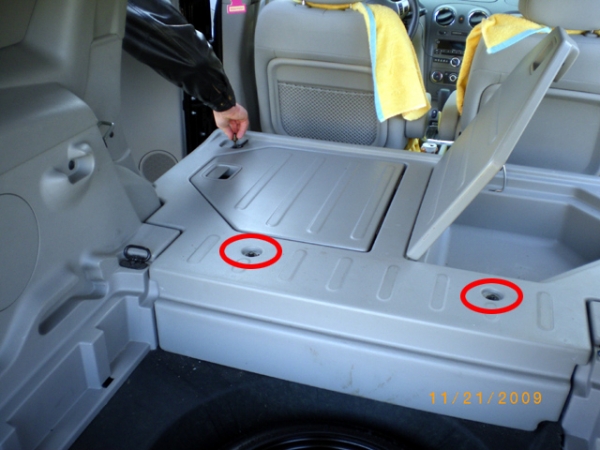
Hand tools were fine for this:
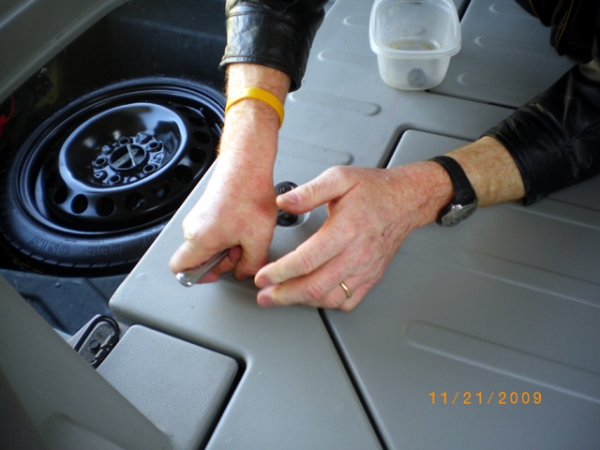
Here's what it looks like with the top cover removed:
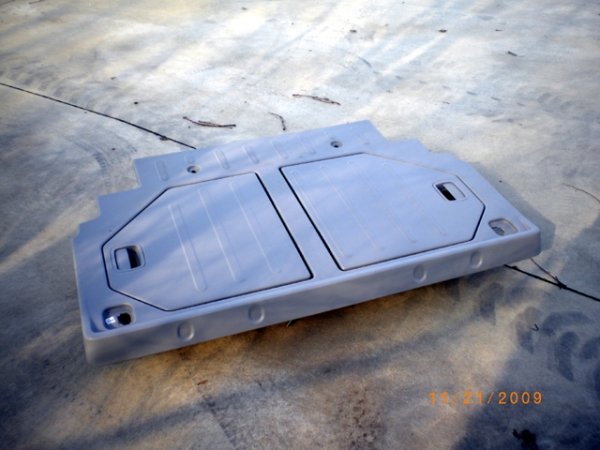
Here's the top cover:
Next remove the front & side facia covers. The clips are easily released by tugging on them firmly:
Next we need to remove the frame. Loosen & remove the bolts:
Impact gun was needed on most of these nuts:

Power tools. Ya gotta love 'em:
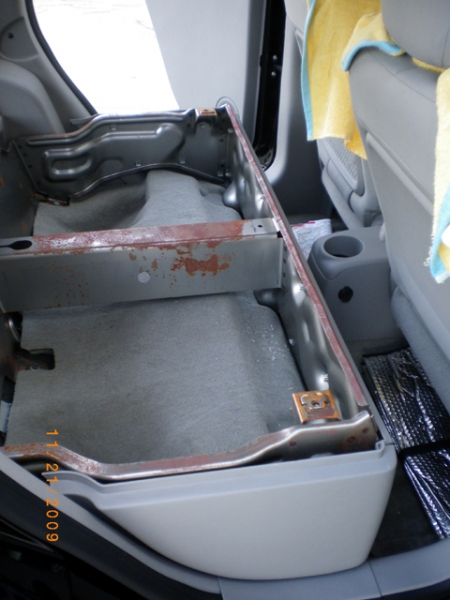
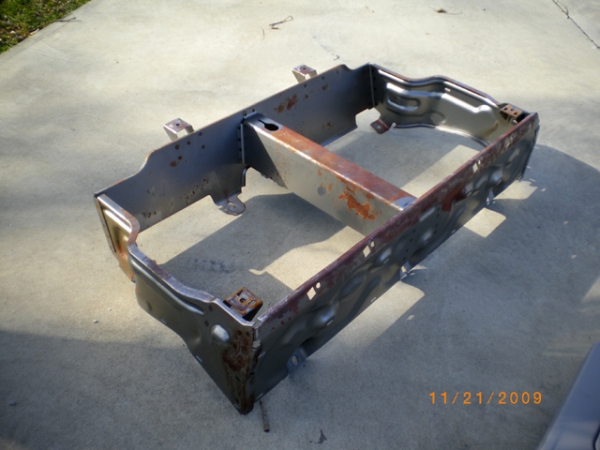
Here's the bare frame (no paint?):
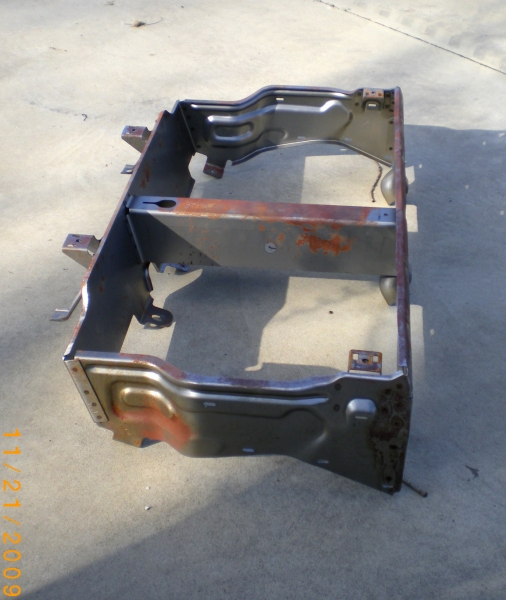
A little surface rust evident:
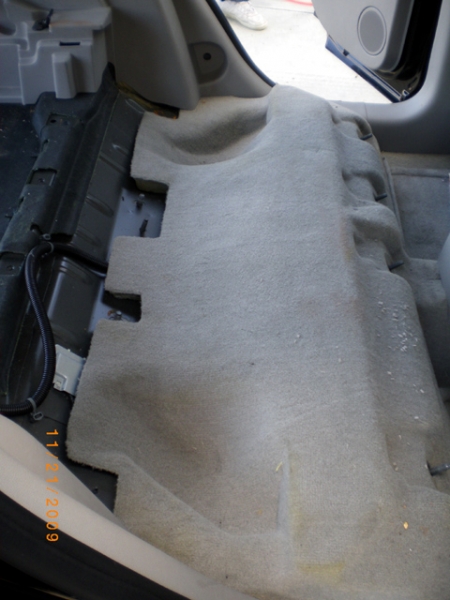
Here's what you see with no frame or cover. Luckily, no rat nests!
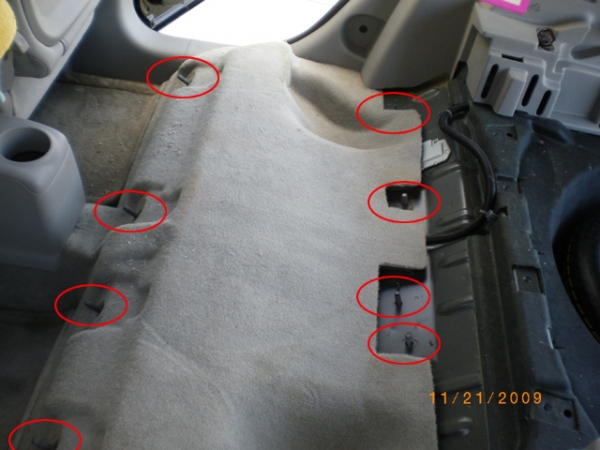
I did have to vacuum a bit. Here are the studs that hold the seat/cover:
Doctor! We have a donor:
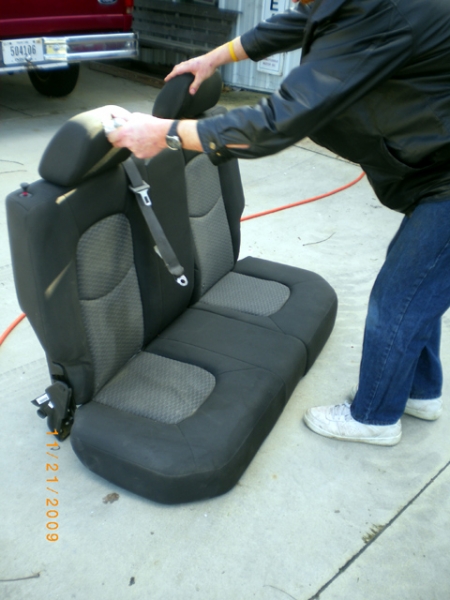
Install the seat with the back folded down. Pull the seat back toward the rear. Secure the back bottom seat rail with the nuts (hand tighten for now):
Image overload. Part 2 coming...
Started off with a quality work space with ample tools supplied by our host 'Petrolmike' (HHR member).

The pictures show a lot of Mike. That's because he did the installation. I was around to provide moral support & occasionally loosen a bolt or two.
We started off by removing the rear cargo cover & spare tire cover door. Now we can remove the top cover of the storage box. There are 4 bolts:

Hand tools were fine for this:

Here's what it looks like with the top cover removed:

Here's the top cover:

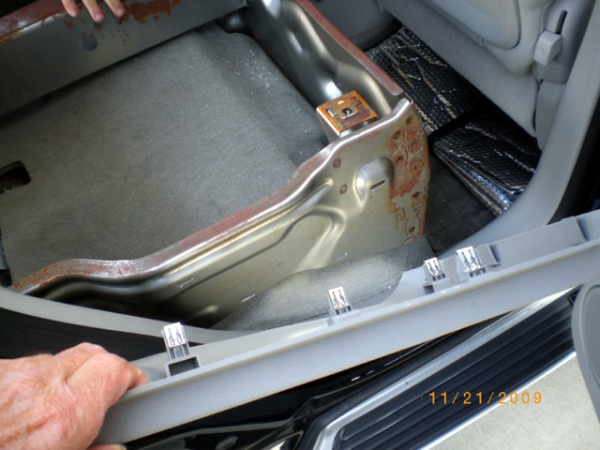
Next remove the front & side facia covers. The clips are easily released by tugging on them firmly:

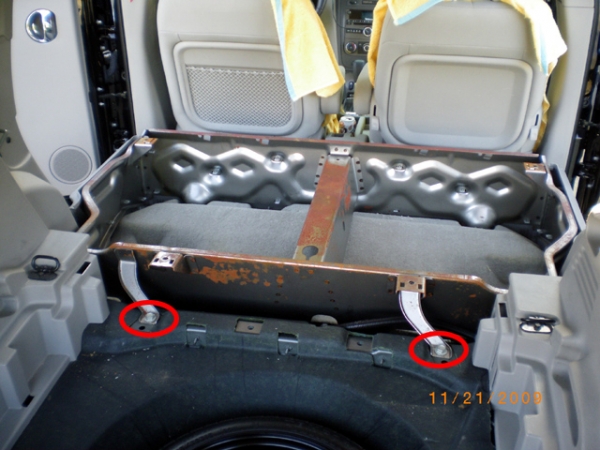
Next we need to remove the frame. Loosen & remove the bolts:

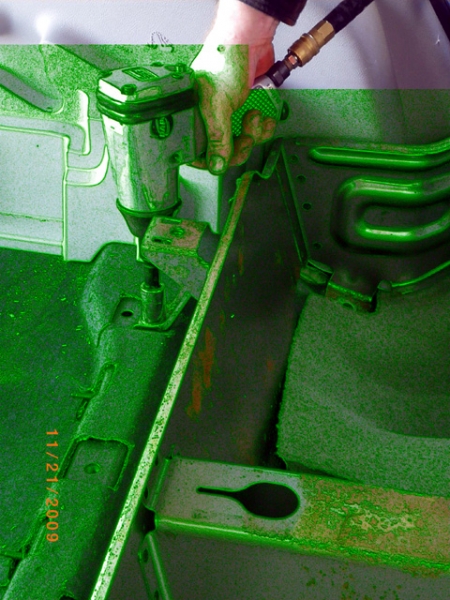
Impact gun was needed on most of these nuts:

Power tools. Ya gotta love 'em:

Here's the bare frame (no paint?):

A little surface rust evident:

Here's what you see with no frame or cover. Luckily, no rat nests!

I did have to vacuum a bit. Here are the studs that hold the seat/cover:

Doctor! We have a donor:

Install the seat with the back folded down. Pull the seat back toward the rear. Secure the back bottom seat rail with the nuts (hand tighten for now):
Image overload. Part 2 coming...
#2
The saga continues:
Install the seat with the back folded down. Pull the seat back toward the rear. Secure the back bottom seat rail with the nuts (hand tighten for now):
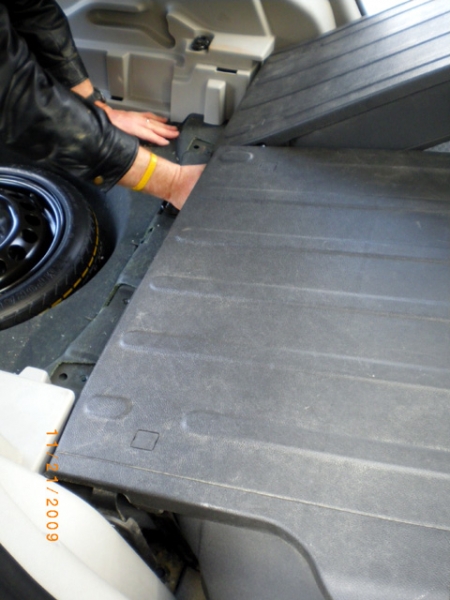
Flip the seat up & tighten the floor nuts (we used impact driver):
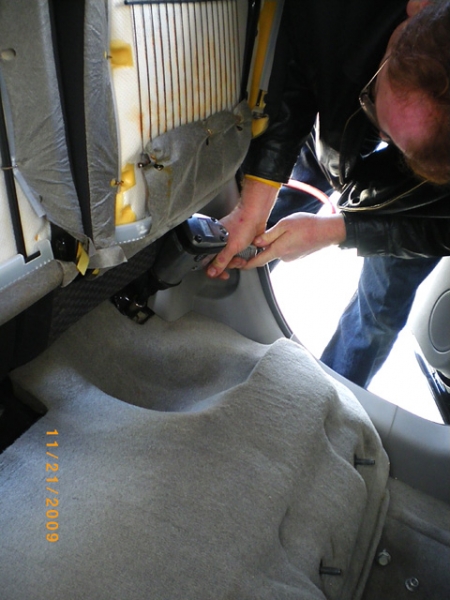
Fold the seat cushions down & secure the front floor nuts. Because of the tight space we had to (loosen &) tighten the front center nut by hand:
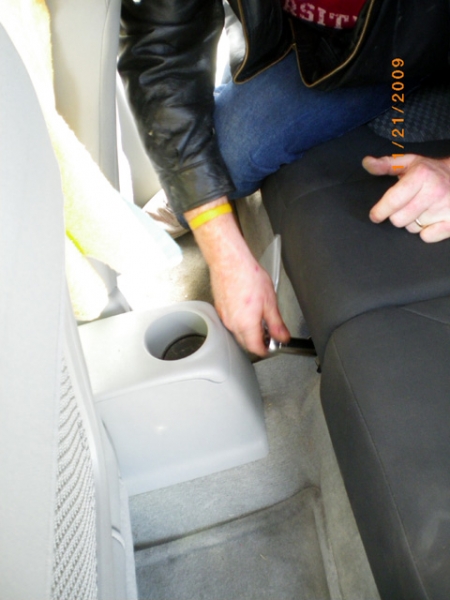
Push the seat backs into position to check alignment (ours was perfect):

Here's the insatalled pic taken in my garage when I finally got home:
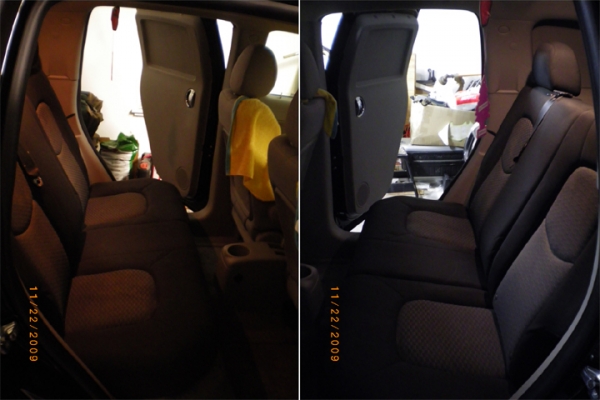
I sat back there & it's quite comfortable.
Another item checked off my list. Excellent!

Flip the seat up & tighten the floor nuts (we used impact driver):

Fold the seat cushions down & secure the front floor nuts. Because of the tight space we had to (loosen &) tighten the front center nut by hand:

Push the seat backs into position to check alignment (ours was perfect):

Here's the insatalled pic taken in my garage when I finally got home:

I sat back there & it's quite comfortable.
Another item checked off my list. Excellent!
#5
Got ya covered
Yes, and there are a lot to choose from. But first I'm gonna get new seat belts & the rear cargo box (& covers) that go behind the seat. I've also got a guy here at work that's gonna professionally clean the seat for me (he used to work for an auto detailer).
#6
HHR_style-
Excellent details & pictures !!! I agree, should be a "Sticky"
I see I can make my bins a bit deeper towards the rear, anyhow..Now that I know what's under there with out dis-assembly..
Thanks for taking all the time to document everything..
GM shoulda had some paint on that sub-frame too...
Excellent details & pictures !!! I agree, should be a "Sticky"
I see I can make my bins a bit deeper towards the rear, anyhow..Now that I know what's under there with out dis-assembly..

Thanks for taking all the time to document everything..
GM shoulda had some paint on that sub-frame too...
#8
You may not get a response from HHR_style. He hasn't logged on to this site since Jan. 2012. His thread was from 2009, so he may not be active here anymore.
#9
I am so glad I stumbled on this site. I have three panels. One of them is an SS. My wife is always asking me why I didn't get a HHR with rear seats and now I'm gonna do this. First I have to find some leather seats. Thanks for posting this and thanks for the great photos.
#10
I did this 5 years ago to my 2007 panel. Found a leather silver in color sear sent to me for a $125. Only other piece I had to buy was the little double compartment between the rear seat and the rear lid that covers up the spare tire. I found one in a near by salvage yard for $20 dollars. Took it out myself. HHR are starting to become scarce in salvage yards.


