
Toms 26 T project
 03-31-2011, 07:50 AM
#101
Senior Member

Join Date: 03-06-2010
Location: Ohio
Posts: 6,869
I was wondering where the back piece of the body was....... Looking good, man!
 03-31-2011, 10:33 AM
#102
Senior Member
Thread Starter
Join Date: 01-13-2006
Location: Superior, WI - Over the Hill Warranty Club member
Posts: 2,999
One of them sheet metal things I am good at removing 1500 times to work on stuff. Floor is out for the 4th time.
03-31-2011, 08:52 PM
#103
Senior Member

Join Date: 03-08-2009
Location: Lower Slower Delaware
Posts: 155
No matter what anyone says, you can tell them "I BUILT THIS WHOLE DAMN CAR !"
It's yours and the way you want it, it can be changed while you enjoy driving it.
Nice build Tom ! ! !
It's yours and the way you want it, it can be changed while you enjoy driving it.
Nice build Tom ! ! !
03-31-2011, 10:05 PM
#104
Senior Member
Thread Starter
Join Date: 01-13-2006
Location: Superior, WI - Over the Hill Warranty Club member
Posts: 2,999
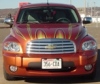
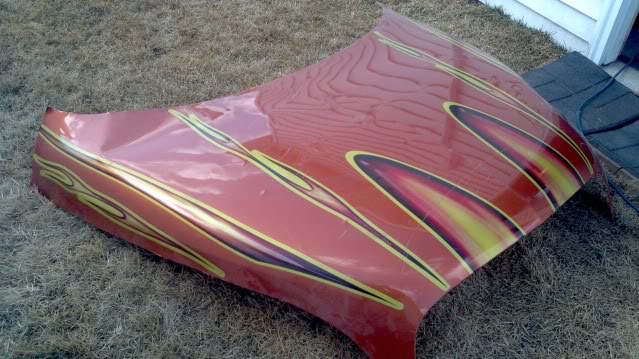
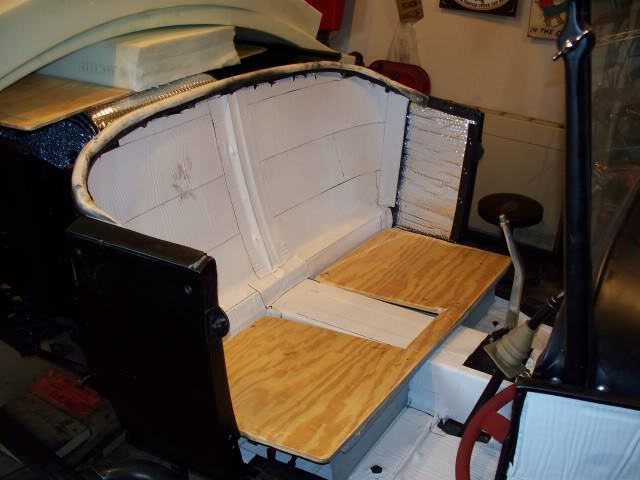
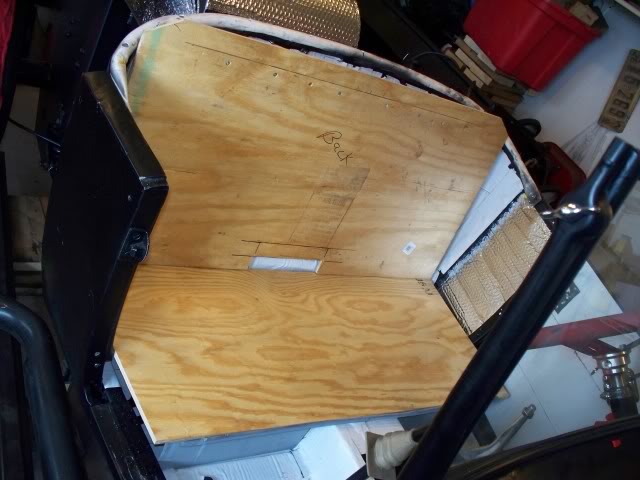
I will be using this HHR Hood to repair the seat back. From the Deer Slayer's second Deer Hit.
04-01-2011, 12:23 AM
#105
Platinum Member

Join Date: 01-09-2007
Location: SE USA
Posts: 15,970
Really shaping up nicely Tom..
04-01-2011, 06:54 PM
#106
Senior Member
Thread Starter
Join Date: 01-13-2006
Location: Superior, WI - Over the Hill Warranty Club member
Posts: 2,999
It's official, The Tbucket back seat has used the skin from the hood off the Deer Slayer.
Almost done and ready to primer and into the bucket it goes.
Almost done and ready to primer and into the bucket it goes.
04-01-2011, 09:01 PM
#107
Deceased
Join Date: 06-30-2010
Location: Kannapolis NC
Posts: 25,739
Like they say...Reduce, Reuse, Recycle...but in a cool way!
04-02-2011, 04:38 AM
#108
Senior Member
Thread Starter
Join Date: 01-13-2006
Location: Superior, WI - Over the Hill Warranty Club member
Posts: 2,999
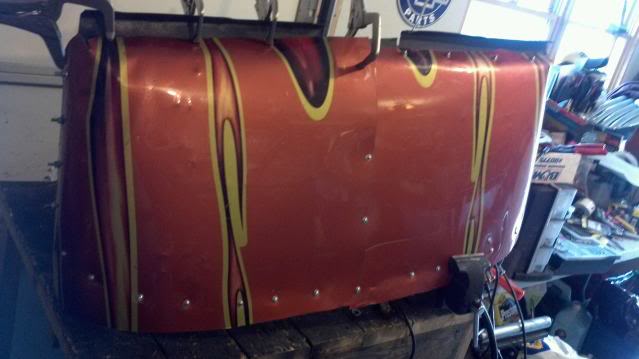
Now to cover up that shiny SOM with primer and then satin black.
04-03-2011, 08:51 AM
#109
Senior Member
Thread Starter
Join Date: 01-13-2006
Location: Superior, WI - Over the Hill Warranty Club member
Posts: 2,999
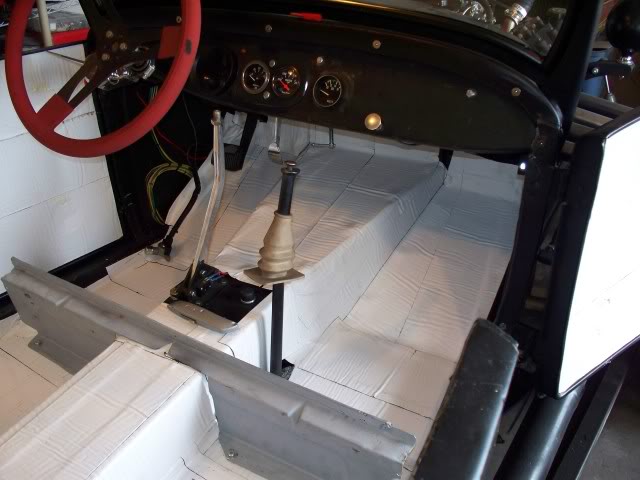
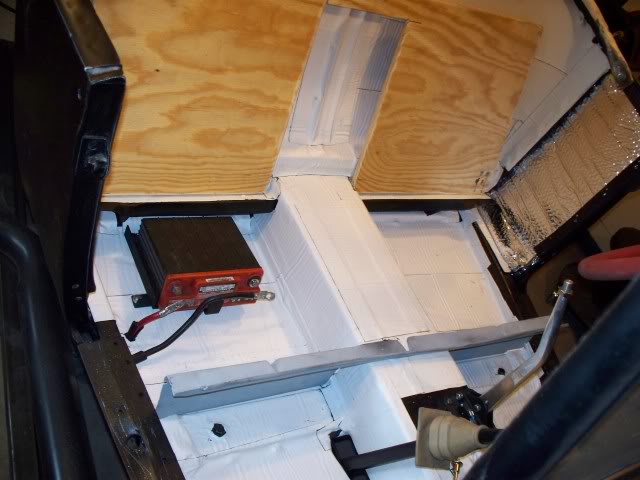
More work done, seatback now installed and ran a Pvc pipe along the top edge to round the top and put the interior fabric over. aligned the rear axle, front is close. One sheet metal left for the front edge of the seat, then cut the bottom board. Time to start applying the sound deadening material to the floor and body. Still on target to Get-er-Out after the storms are done Wed.
04-06-2011, 08:48 AM
#110
Senior Member
Thread Starter
Join Date: 01-13-2006
Location: Superior, WI - Over the Hill Warranty Club member
Posts: 2,999
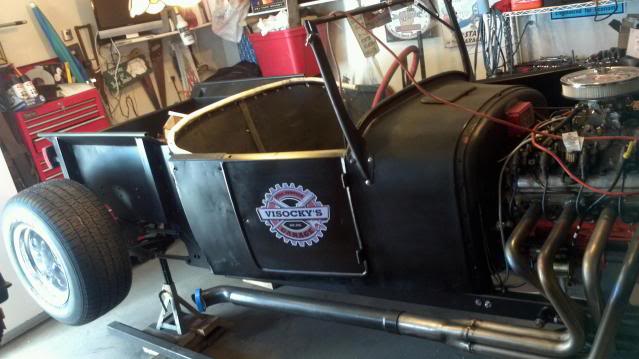
Sound material (Gutter sealer) applied
Testing the seat arrangement
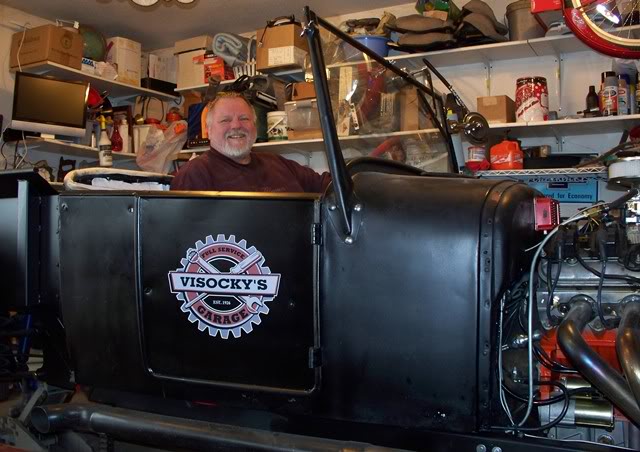
Change it time. Happens sometimes. That decal is looking really good, If there is another set in the future, it will be darkened up a little more. To look more faded.
Testing the seat arrangement
Change it time. Happens sometimes. That decal is looking really good, If there is another set in the future, it will be darkened up a little more. To look more faded.