
Slide_Rite's HHR - Pics, Mods & More!
 04-11-2012, 02:05 AM
#1
Senior Member
Thread Starter

Join Date: 03-20-2012
Location: Dallas, TX
Posts: 292
Slide_Rite's HHR - Pics, Mods & More!
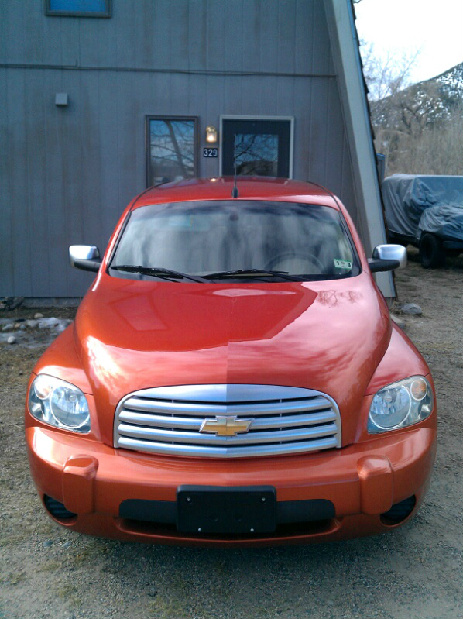
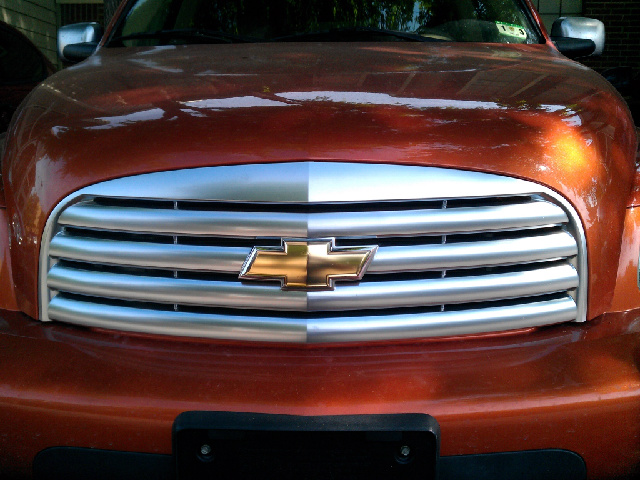
So here is my HHR about a week after purchase. Somewhat clean...

...and my favorite pic (so far) from my first vacation in the HHR!
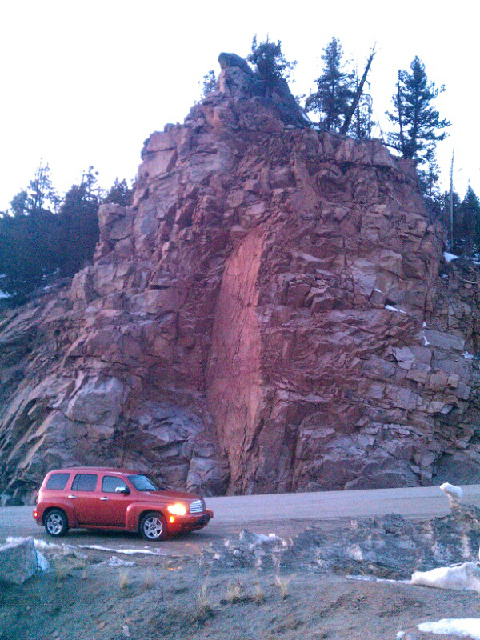
...currently working on a few minor mods to her. 3 bar grill mod, painting bowties & mirror caps, and removing the chrome hubcaps to rock the black star steelies. Should have more pics up soon.
...and my favorite pic (so far) from my first vacation in the HHR!
...currently working on a few minor mods to her. 3 bar grill mod, painting bowties & mirror caps, and removing the chrome hubcaps to rock the black star steelies. Should have more pics up soon.

 Really diggin' that third shot, nice job and a sharp HHR!
04-11-2012, 08:25 AM
Really diggin' that third shot, nice job and a sharp HHR!
04-11-2012, 08:25 AM
#3
Senior Member
Join Date: 10-19-2011
Location: N.Y.
Posts: 1,553
Nice pics and Nice hhr
was the last pic in AZ?
3 bar grilles look awesome on the HHR's in my opinion.
I like the chrome over the Black rims myself but that is just me.
Black tire Black rim on big round black thing Just dont get it.
was the last pic in AZ?
3 bar grilles look awesome on the HHR's in my opinion.
I like the chrome over the Black rims myself but that is just me.
Black tire Black rim on big round black thing Just dont get it.
04-11-2012, 11:35 AM
#4
Senior Member
Thread Starter
Join Date: 03-20-2012
Location: Dallas, TX
Posts: 292
Thanks guys, I appreciate it.
That third pic was taken just outside of Salida, CO. We were on our way back from Black Canyon. I love this shot, and was super stoked there was a scenic overlook to pull off at. Got out to look into the mountain valley below, looked back at the HHR and realized the great shot waiting to be captured!
I have a final plan for the 3 bar, mirror caps, and rear beauty bar...trying to give them a unique aged look. Since I am not a fan of chrome, I was happy to learn the "wheels" are hubcaps, and now I don't have to wait for rims to get rid of them!
04-13-2012, 12:36 AM
#5
Senior Member
Thread Starter
Join Date: 03-20-2012
Location: Dallas, TX
Posts: 292
Wish the forecast was clear. Possibility of rain and the current high humidity have my projects at a stand still.
So...I'll just post my progress so far.
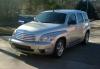
My clean, but surely doomed stocker.
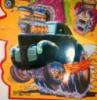
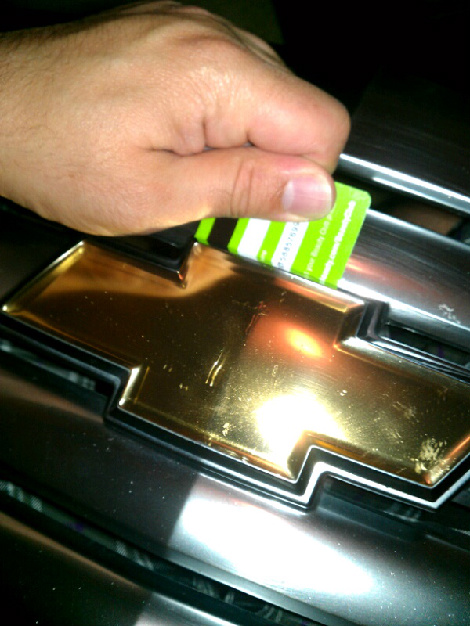
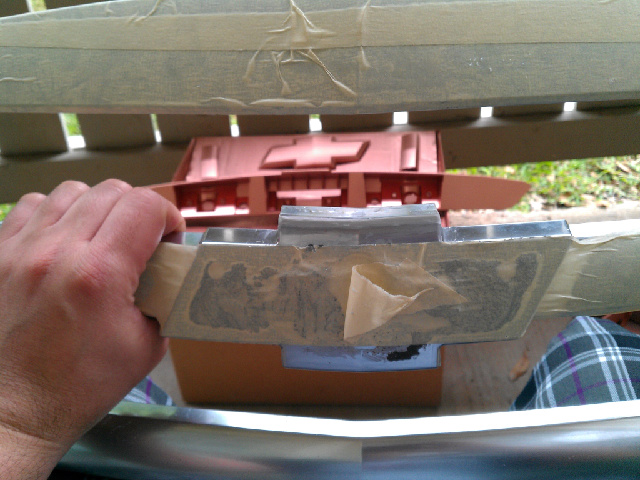
Popped that bad boy off with an old plastic card.
Found out how much it sucks to have a battery powered dremel tool when I had to cut & finish the sides of the grill.
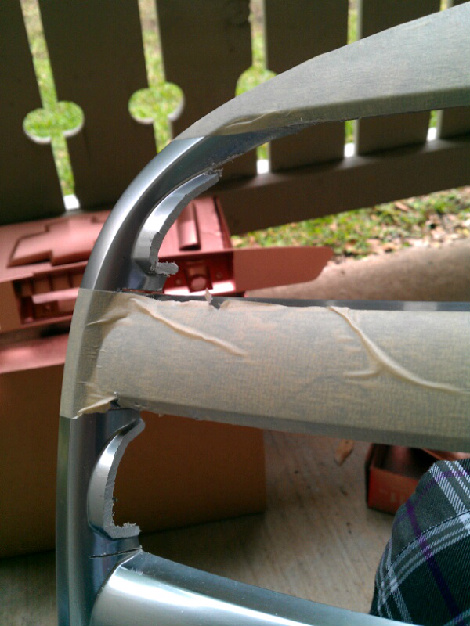
But it all worked out...decided to cut the sides flat & even. It was easier and IMO looks better than the rounded edges.
Sorry for the bad pic...forgot to take one in natural light.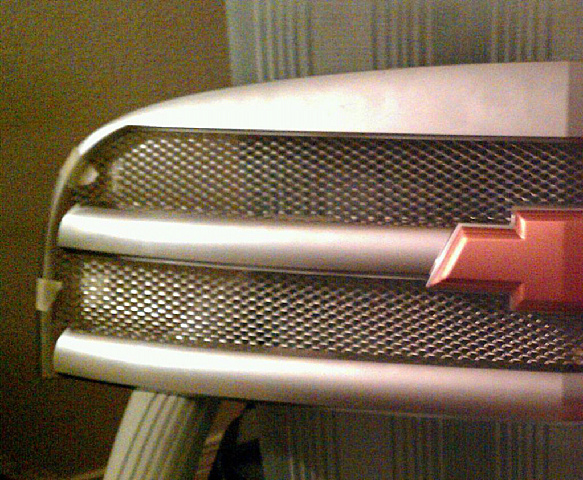
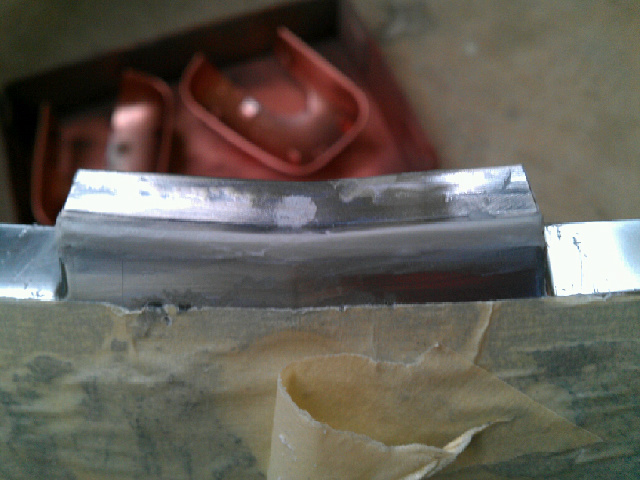
Also decided to use some of the scrap to make an emblem top. It isn't perfect, but she ain't no beauty queen, so it'll do. Just couldn't leave the top open and exposed...lol.
This was pre-sanding.
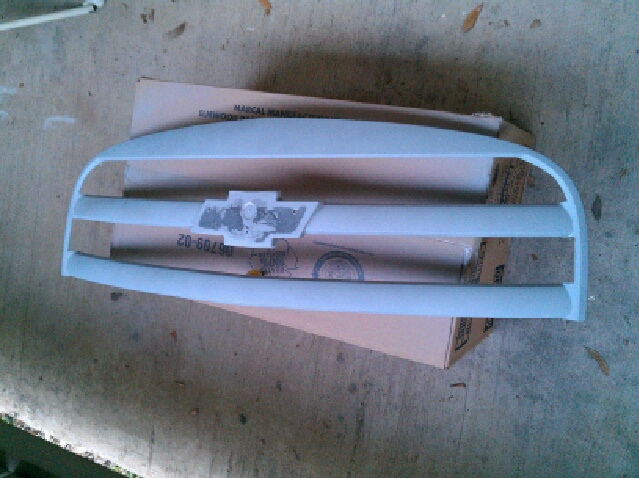
Finally got to lay down some primer...can't wait to get to the copper on this. Might throw it back on the truck for a few shots to see how it looks before the next step.
So...I'll just post my progress so far.
My clean, but surely doomed stocker.
Popped that bad boy off with an old plastic card.
Found out how much it sucks to have a battery powered dremel tool when I had to cut & finish the sides of the grill.
But it all worked out...decided to cut the sides flat & even. It was easier and IMO looks better than the rounded edges.
Sorry for the bad pic...forgot to take one in natural light.
Also decided to use some of the scrap to make an emblem top. It isn't perfect, but she ain't no beauty queen, so it'll do. Just couldn't leave the top open and exposed...lol.
This was pre-sanding.
Finally got to lay down some primer...can't wait to get to the copper on this. Might throw it back on the truck for a few shots to see how it looks before the next step.
04-13-2012, 04:00 AM
#6
Senior Member

Join Date: 10-06-2011
Location: Mesa, AZ
Posts: 1,150
I like that way you trimmed the sides on your 3 bar. I might have to trim mine like that. I too accidently cut the top off my bowtie mount as well. I have not filled it back in yet. I was using my trim router so I could make short work of it. While it shaved time off the whole task I messed up when I hit that top part but oh well. I did learn from my mistake and made sure to cut farther away from the bottom of the bowtie mount and then trim up to it with my angle grinder. I do have a dremel but did not want to have to wait for battery to recharge.
04-13-2012, 10:12 AM
#8
Senior Member
Thread Starter
Join Date: 03-20-2012
Location: Dallas, TX
Posts: 292
It's really not difficult at all, just be patient with a steady hand and plan of attack! Mark your cut lines on the back with a sharpie or something and just go slow until you start feeling comfortable handling the grill and cutting away the unnecessary. Be sure to cut below or inside your cut lines and then carefully shave away the rest until you get it how you want it. I used a red sharpie to mark the back and put masking tape over the parts I didn't want to cut or scratch in case the cutting wheel or mini hacksaw slipped. And like you said...if you mess it up you could always buy billet!
04-13-2012, 10:21 AM
#9
Senior Member

Join Date: 03-09-2012
Location: Atlanta
Posts: 1,430
Thanks, I just wasn't feeling the rounded edges after I cut one side. Thought the straight cuts flow much more naturally and give a wider look to it. As for the emblem, it's pretty much impossible to remove the bar above the emblem and not leave an opening. There is a void back there where the emblem and bar above it run together, so there is literally no top of the emblem. Luckily, there is a bottom so that was a breeze...lol! It took me longer than I expected, but waiting for the dremel tool to charge was my time waster...guess it gave me time to carefully plan before executing though.
It's really not difficult at all, just be patient with a steady hand and plan of attack! Mark your cut lines on the back with a sharpie or something and just go slow until you start feeling comfortable handling the grill and cutting away the unnecessary. Be sure to cut below or inside your cut lines and then carefully shave away the rest until you get it how you want it. I used a red sharpie to mark the back and put masking tape over the parts I didn't want to cut or scratch in case the cutting wheel or mini hacksaw slipped. And like you said...if you mess it up you could always buy billet!
It's really not difficult at all, just be patient with a steady hand and plan of attack! Mark your cut lines on the back with a sharpie or something and just go slow until you start feeling comfortable handling the grill and cutting away the unnecessary. Be sure to cut below or inside your cut lines and then carefully shave away the rest until you get it how you want it. I used a red sharpie to mark the back and put masking tape over the parts I didn't want to cut or scratch in case the cutting wheel or mini hacksaw slipped. And like you said...if you mess it up you could always buy billet!
04-13-2012, 11:49 AM
#10
Senior Member
Thread Starter
Join Date: 03-20-2012
Location: Dallas, TX
Posts: 292
My plan for attaching the mesh is to use Permatex Ultra Black RTV Sealer/Gasket maker. That stuff is waterproof, high temp, and is almost as strong holding as the black sealer used to hold headlights together, so I am hoping a nice bead of it all the way around the outside of the mesh will do the trick. I have already formed the mesh to the backside of the openings so it fits to it like a glove.
I'll get some more pics up tonight, including this new glue I found & used. It is thick like toothpaste, holds on contact, is water soluble prior to curing, and in my experience doubled almost like a putty...allowing me to fill in areas to sand smooth after drying. I used it to fill in the spots where I removed the verticle tabs from the bars.
Now I wish I wasn't @ work...I want to work on the ride!
Good luck with your grill!!