Belt replacement on 2008 2.0L SS
#1
Belt replacement on 2008 2.0L SS
Recently changed the belt on my, well now my wife's, 2008 SS. Just by looking at the accessibility I figured it might be more involved than on some of the others vehicle belts I have done before.

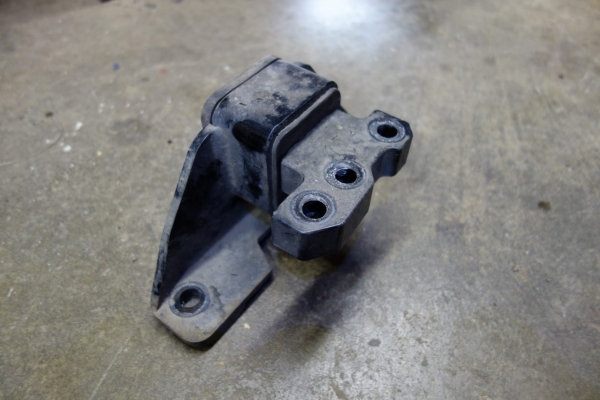
Had to remove the air cleaner housing, windshield washer bottle and motor mount. I love my motor mount from TTR. One of the best mods you can do.
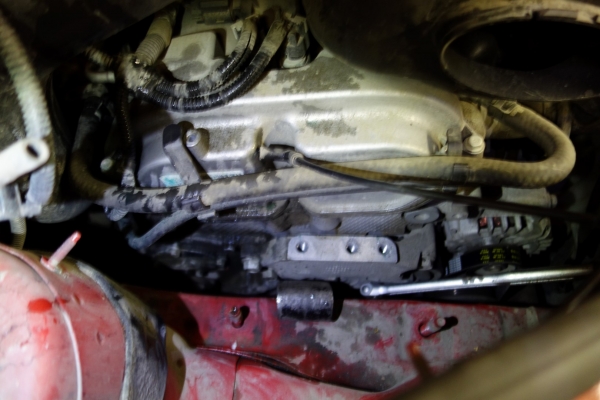
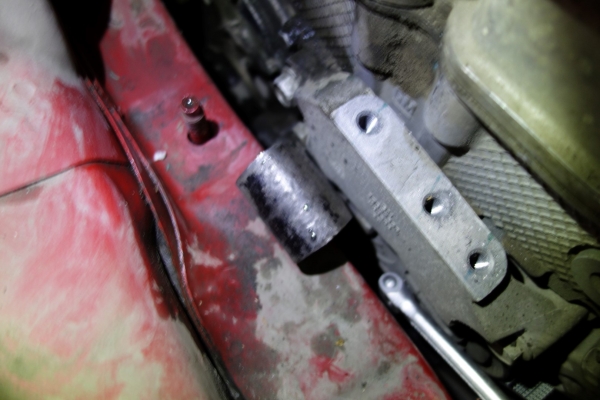
Since the there was not enough clearance between the frame an the tensioner for a wrench, I jacked the engine up from below and also used a wedge. That gave just enough room to get the a 3/8 breaker bar on the tensioner. The breaker bar head width was less than a normal ratchet. It might be a real project if the tensioner ever has to be replaced.
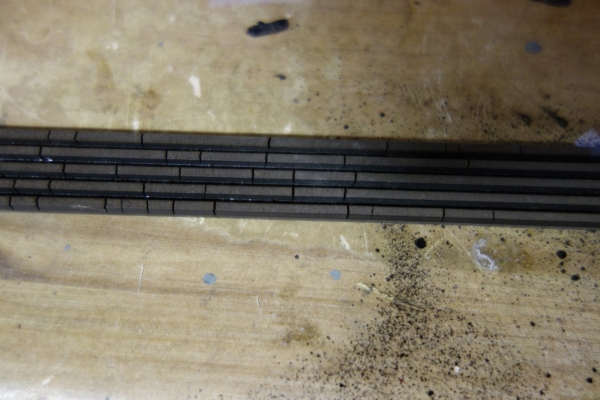
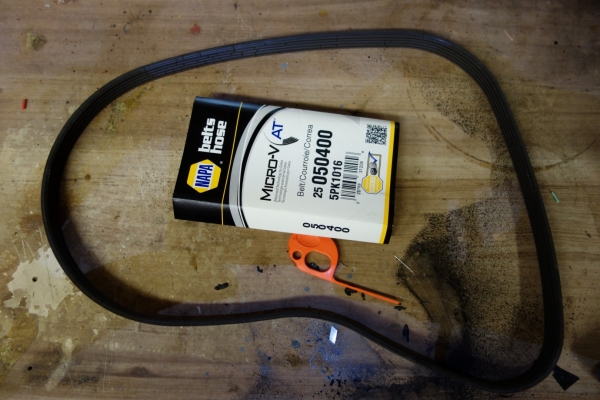
The reason for changing the belt was it had large cracks. Appears the belt wear gauge indicated the old belt was still good? I am old school and not comfortable with large cracks in the belt.

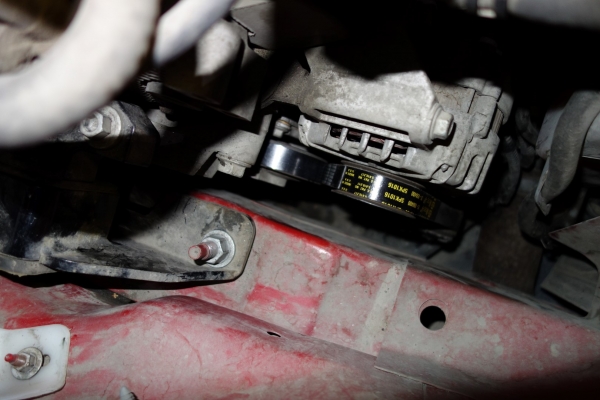
New belt installed and parts reinstalled. Hardest part is aligning all the holes up to get the motor mount reinstalled.
Overall not too hard now that I know how. I was prepared to make or buy a wrench just for leveraging the tensioner but when I saw the photos of the specialty wrench and the clearances involved I do not believe the specialty tool would have helped. Maybe a real mechanic knows a better way to change the belt?

Had to remove the air cleaner housing, windshield washer bottle and motor mount. I love my motor mount from TTR. One of the best mods you can do.

Since the there was not enough clearance between the frame an the tensioner for a wrench, I jacked the engine up from below and also used a wedge. That gave just enough room to get the a 3/8 breaker bar on the tensioner. The breaker bar head width was less than a normal ratchet. It might be a real project if the tensioner ever has to be replaced.


The reason for changing the belt was it had large cracks. Appears the belt wear gauge indicated the old belt was still good? I am old school and not comfortable with large cracks in the belt.


New belt installed and parts reinstalled. Hardest part is aligning all the holes up to get the motor mount reinstalled.

Overall not too hard now that I know how. I was prepared to make or buy a wrench just for leveraging the tensioner but when I saw the photos of the specialty wrench and the clearances involved I do not believe the specialty tool would have helped. Maybe a real mechanic knows a better way to change the belt?
Last edited by whopper; 06-13-2016 at 03:46 AM.
#2
You get a serpentine tool from Harbor Freight when they are one sale then cut the handle down to about 15 inches or whatever fits. Then you may still need to remove the motor mount and work from the top.
#4
My Replacement Belt Replacement Steps
First off - I've had my SS off the dealer lot in 2008.
2nd - I never post on here but want to thank the hundreds of people who take the time to. This is the first source I go to for work I do; which is all of it. I've never let anyone touch it aside from the clutch (30k burn out? seriously?) and the f88kn ignition recall that bit me in the a$$.
Anyhow after gathering all of the posts here and other sources here's how i did it.
Warning as some have mentioned ape arms will have a tough time with this.
1. Position a jack and wedge/wood under oil pan. Make sure its the pan only and not overlapping on the frame. (you're disconnecting the engine from the vehicle. Don't be stupid) Raise until it just touches the pan.
2. Remove washer fluid bottle and Cold Air feed to the AirBox
3. Remove motor mount (RH side obviously)Two (2) 18mm nut on the frame, three (3) 15mm hwx bolts on the engine side, then finally three (3) 15mm bolts for the motor side of the two piece motor mount. The bottom left hand bolt on the motor side is a little bit of a pain but just slowly raise the pan and you'll get at it. As you remove the mount you will need to also raise the jack under the pan. As you remove fasteners the engine will drop. Its key the you balance fastener removal vs. raising the engine. After you finish this step remember the engine is no longer attached to the vehicle. Don't touch the jack.
4. This part sucks but has to be done. Grab another floor jack and a 12"L 3/4" extension. From underneath the vehicle get the extension in between the passenger skid plate and frame. Just look for daylight and shove it up there drive side up.
5. If you're replacing the belt just cut the old one off. Mine threw the belt so I didn't need to. Route the new belt into the channel between the CHAIN TENSIONER bump out on the chain cover (not the belt tensioner) and balancer first, then around the rest of the balancer, then around the AC, then the belt tensioner (it won't fit, hold on) then up to the alternator ... but it won't fit there either - yet.
6. Position the square end of the extension on to the head of the floor jack (you may need a buddy or in this case my wife - it's not hard) - and have them slowly jack the extension rod onto the tip of the belt tensioner - which you are up top guiding. So raising the jack with the extension rod to load the tensioner - pushing it up. Go slow. slow slow. Make sure the extension is outside of the belt (belt layer first, then extension- I screwed this up first try).
7. Slowly raise the tensioner, slip it into the space created then work to loop the final route of the belt around the alternator. I think I moved my tensioner about 1-1/2" to get it to slip on. BOOM. Belt is on.
8. Slowly lower the tensioner and reverse the steps (ie put the car back together). Doesnt hurt ONCE THE MOTOR MOUNT IS BACK ON to start it up and make sure it doesn't throw the belt or anything. Mine was fine.
In summary - didn't need any special tools. 2 floor jacks, piece of wood, some metric sockets, and extension and wrenches, small arms and some patience.
This is probably not the best set of instructions as I type this quickly but alot more accurate than the guy that said " I did mine in 15 minutes". No dude, ya didn't. Total time for me - and take into account I was learning as I went and my tools are as organized as my kids crayon box - about 3-4 hours. The confined area is the hardest part.
Good luck and keep those HHR SS's on the road. PM me if you need help. I've just about done it all to mine.
SC_Guy
Last edited by SC_HHR; 06-04-2016 at 10:27 PM.
#5
The CHAIN TENSIONER is inside the chain cover. How did you manage to route the BELT into the chain tensioner?
This has been written about on this forum a number of times. The only new information is that you somehow got the belt into the timing cover then back out.
I did do my last one in 15 minutes, using my homemade tool. Never needed to jack the car up. Here is a youtube using the tool that I thought I invented:
Here's another tool:
Here is one link:
https://www.chevyhhr.net/forums/main...ne-belt-31446/
If you look at the bottom of this page; you will see links to "similar threads", at least on the desktop site, on the mobile site they appear at the end of each page as if they were additional posts.
#6
Step 6 - Are you saying you had the new belt between the jacked up extension and the tensioner? Thereby somewhat crushing the belt? Probably not good.
The Haynes manual lines out just what oldblue said, take off the wheel and splash shield, use the modified tensioner tool, and the belt comes off - and goes back on. Seems pretty staightforward and easy, looks to be all from the bottom(side). I would rather spend a few bucks on a tool than several hours of my time.
This thread is probably in the wrong forum - should maybe be in maintenance, Haynes doesn't give a separate procedure for SS.
Edit: Like the second video donbrew posted.
Last edited by RJ_RS_SS_350; 06-04-2016 at 09:19 PM.
#7
I was refering to the bump out on the chain cover which if was removed would reveal the chain tensioner. About 10 oclock to the balancer. And no, i still don't buy the 15 minutes but hey maybe you're that good. I'm done and will likely never have to do it again. Also quick edit - Harbor Frieght is nowhere near me and I had no vehicle to get there if it was. Last thing i wanted to do this weekend was work on a car in 90 degrees. You're a mod if you hate the post delete it. Just sharing info. Cheers
#8
No belts were harmed during this process. And as far a a Haynes procedure, no thanks. Didnt wanna mess with pulling the wheel and fender. Again this is just how I went about it compiling what I found on here. Worked very well for me; individual results may vary. Cheers.
#9
I had my front rotors and pads replaced 6 months ago and had the mechanic replace my serpentine belt done at the same time. The Tech said that my OEM belt was still ok...no cracks or chunks. So I threw it in my storage for a just in case. That was the easiest work I had ever done on my '08 SS. Always easiest when someone else does it. 
#10


